Going further
Installing Termux API (optional)
For more advanced uses, Termux works best in combination with its sister app, Termux API Termux API allows you to control some of the phones’ hardware features, such as vibration, the camera, etc. Find documentation here.
!!! note “Double install We have to install it twice: first the app, via F-DROID (step 1.) gives us access to the phones inner features. Then inside Termux (step 7.) to be able to call the API via the Terminal.
- Go to F-Droid and download Termux API
- Download the stable (suggested) version (not beta) by selecting
Download APK. - Once downloaded, tap the APK on your device. If you don’t find it go to your Files app, under Downloads.
- Click install (with the package manager) and approve authorisations
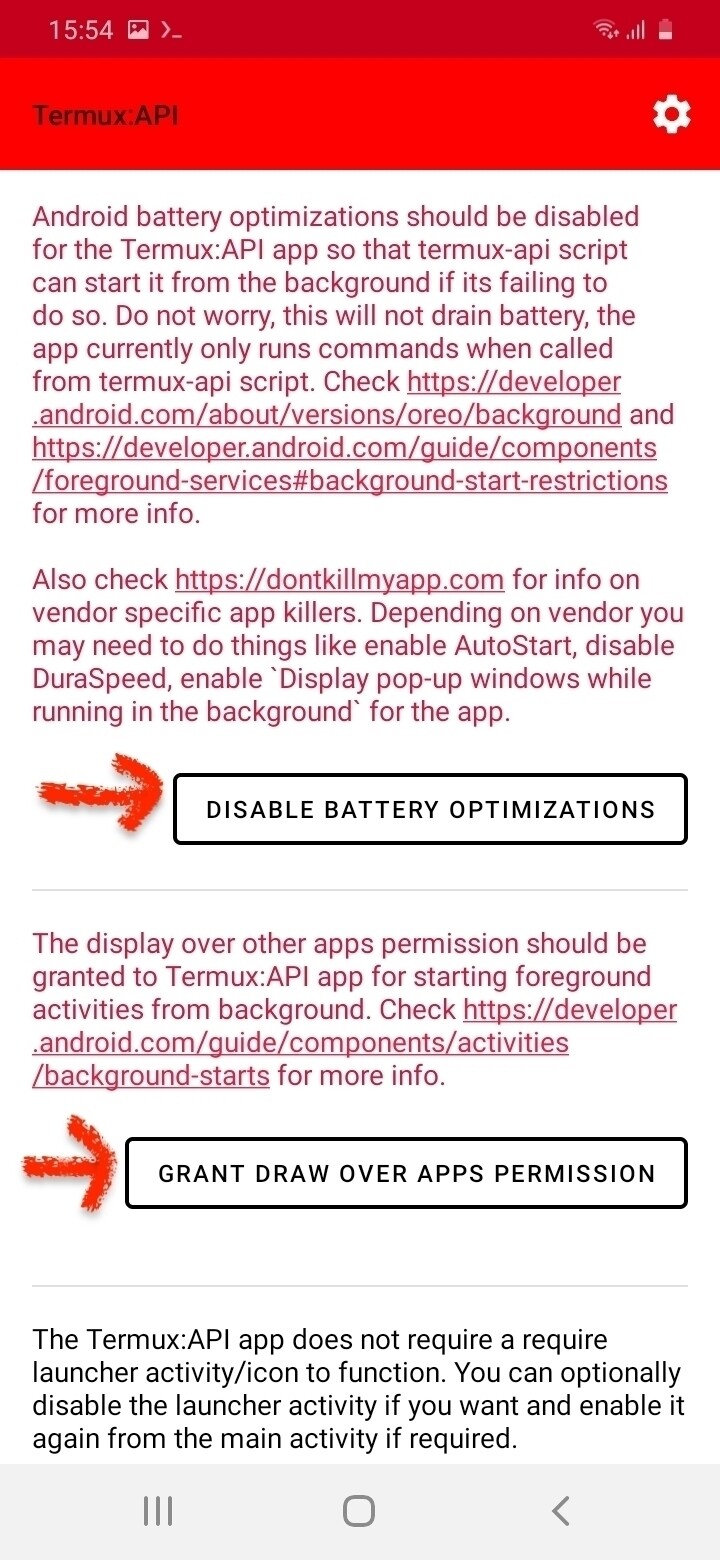
- Open Termux API: Tap Termux API app on you home screen, you will be redirected to the settings
- In the settings, change the following:
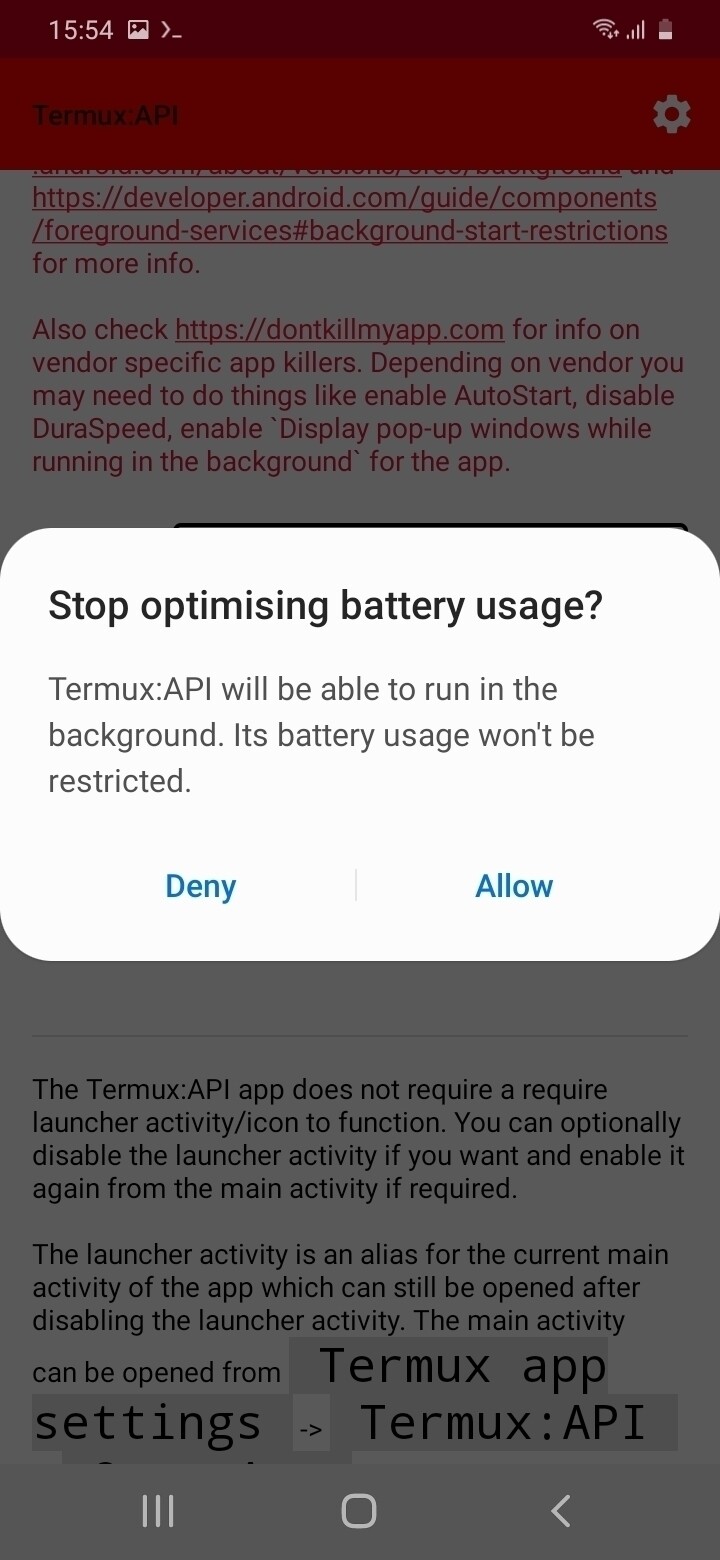
- Disable battery optimisation
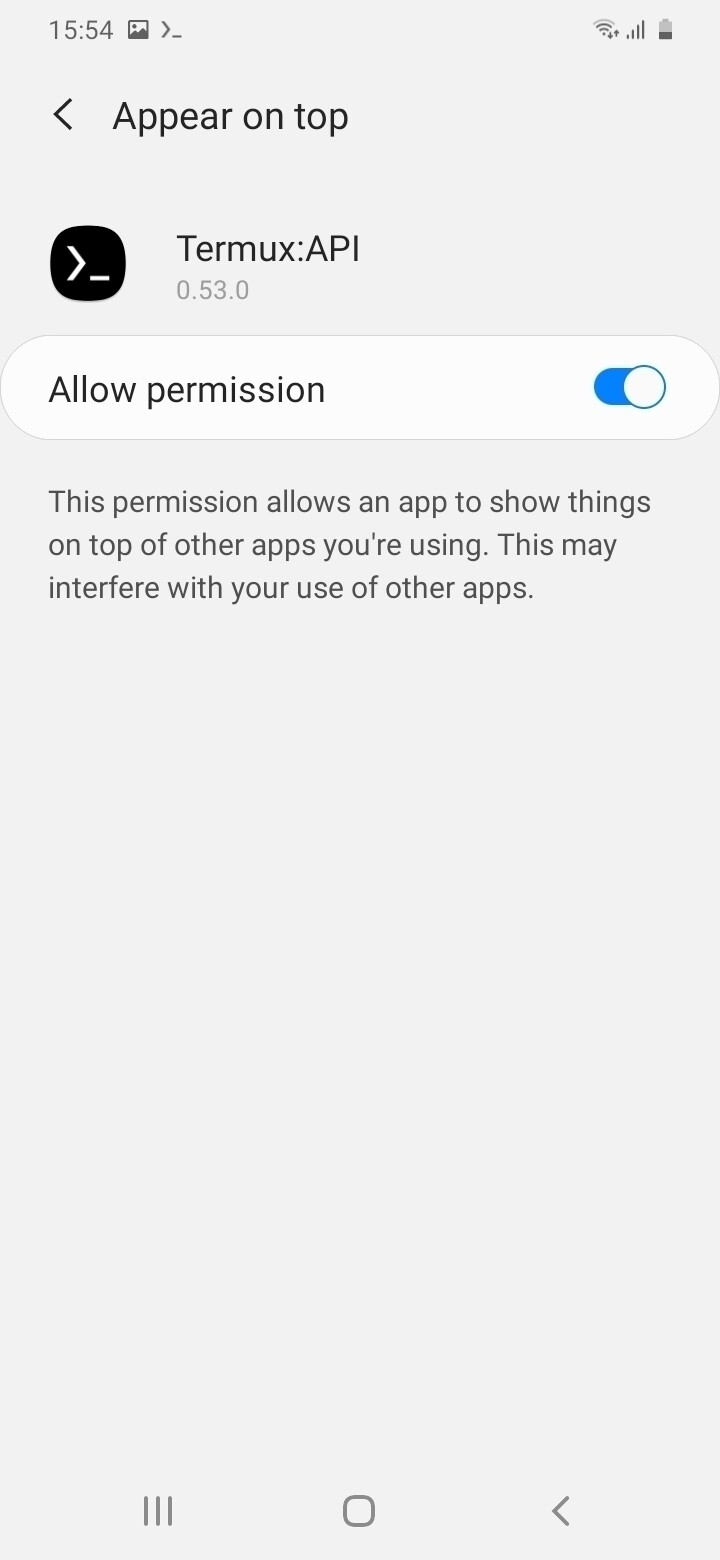
- Allow display over other app
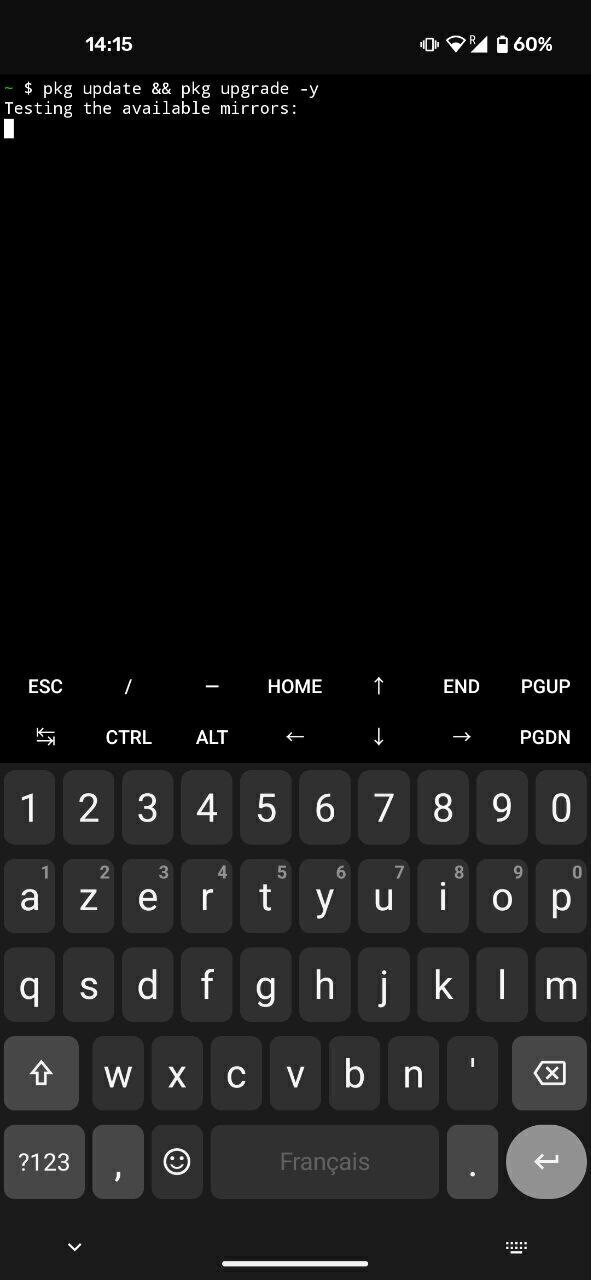
- Leave Termux API and open Termux via the home-screen.
- Type the following, press enter and wait for the download to happen
pkg update && pkg upgrade -y
- Once you can type again, enter the following command, press enter and wait.
pkg install termux-api
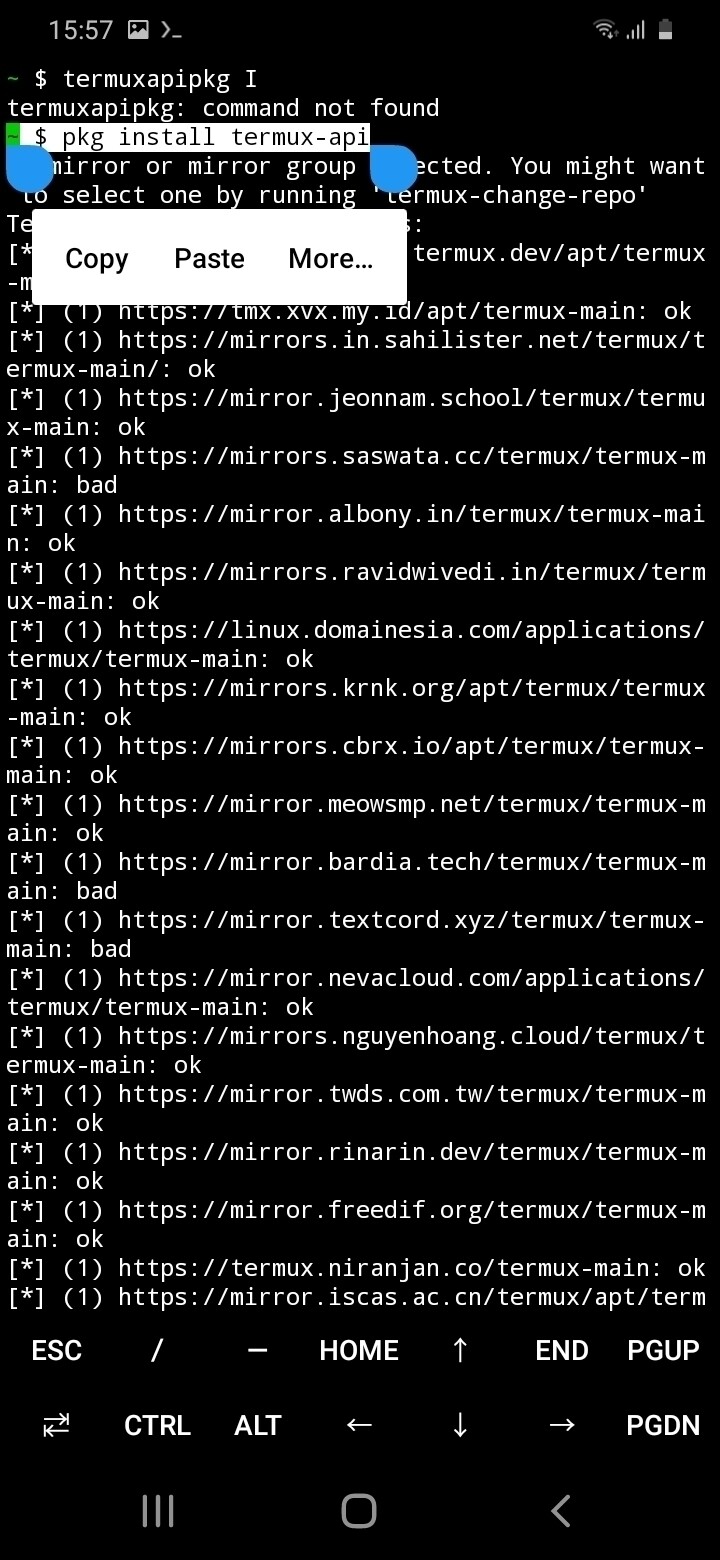
If you were successful, you should be able to command your phone to vibrate! Type and enter:
termux-vibrate
Creating a complete website on a computer (and upload via SSH)
Creating a fully fledged webpage might be a bit tricky using a phones’ keyboard and a basic nano editor. Consider switching to a computer and uploading content to your phone remotely using the following instructions.
Code editor
Wip
(documenting getting a code editor)
A Code Editor to edit HTML (VS codium, Sublime Text, etc.)
Uploading files
Whether you want to upload an existing static website (a folder with HTML files, images, CSS files, etc.) or you want to do make a new page, it’s easier to do so on your laptop and transfer the files over SSH via the terminal or SSH File Transfer Protocol (SFTP).
Run a SSH server on your phone
We will need an SSH server on our phone, to be able to communicate via ssh to our laptop. 1. In termux, type + enter, to find out your phone username for ssh
whoami
Write down the result for later, it should be similar to: u0_a96
-
Set a password with passwd:
- Install termux-auth and then you can use passwd:
pkg install termux-auth -y
passwd
  - Type your password + enter / Type again to confirm
  - Write it down somewhere to remember it
- If not done already, install OpenSSH:
pkg install openssh -y
- Identify the local IP address of your phone by typing + enter. It’s the one written after
wlan0: ... inet... and probably looks like: 192.168.XX.XX
ifconfig
- Write it down the IP address to remember it.
- Start the ssh server:
sshd
-
On your laptop: ssh into your phone via your terminal (it needs to be connected to the same Wi-Fi network). Type command and replace the following:
- -p is port: 8022 by default on Termux
- username: the username from
whoami(eg: iu0_a96`) - ip address XX.XX.XX.XX: your phone’s local ip address (eqg:
192.168.1.234)
ssh -p 8022 username@XX.XX.XX.XX
- enter your password and enter.
- You are in !
Editing via the terminal
To find your webpage from the terminal, you need to navigate to the folder where nginx stores its folders.
- Navigate to the html folder (type +enter)
cd $PREFIX/share/nginx/html
ls
nano index.html
folder location
$PREFIX/share/nginx/htmlis an alias name for the path, a shortcut. For the full path to get to our webpage location is –> /data/data/com.termux/files/usr/share/nginx/html/
Copying HTML file from 1 device to the other
Using scp or rsync, we can copy paste files or folders from our computer to nginx folder.
Using scp:
scp stands for secure copy. It uses ssh.
-
Go to the folder on your computer you wish to copy using
cd path/to/folder/ -
Type and replace
myfile.htmlby your file,username@ipadress:/and the last part is the path of the destination.
scp -P 8022 myfile.html username@000.00.00.00:/data/data/com.termux/files/usr/share/nginx/html/
- In the other direction to transfer from the phone to your laptop, simply switch the 2 parts of the command
scp -P 8022 username@ipadress:/path/myfile.html /my/destination/on/laptop
so:
scp -P 8022 username@192.168.129.7:/data/data/com.termux/files/usr/share/nginx/html/index.html/
- to transfer a whole folder be sure to be in the parent directory and using the flag
-r(recursive):
ls
myfolder/

scp -P 8022 -r myfolder/on/laptopusername@ipadress:/data/data/com.termux/files/usr/share/nginx/html/index.html/
Using rsync:
Wip
Still needs to be tested by i have this command. rsync -azP -e "ssh -p 8022" /path/to/files/source user@remoteip:/path/to/files/destination
Using SFTP
Upload via Filezilla
Once your phone is setup to receive ssh connection, head over to your laptop:
- Download FileZilla or another SFTP/FTP client on your laptop.
- In FileZilla, select File > Site Manager > New Site:
- Fill in the following fields in the site manager and hit enter:
- Protocol: SFTP
- Host: the local IP address of your phone server
192.168.XX.XX - User: your ssh username (see SSH section)
- Password: your ssh password (see SSH section)
- Port: 8022 (by default on termux, usually it’s 22)
- Once connected, navigate in the folders on your phone into where nginx hosts the webservers files:
- In the right panel: enter the path in the search bar:
/data/data/com.termux/files/usr/share/nginx/html, or navigate to the same folder using the file manager tree interface.
- In the right panel: enter the path in the search bar:
- On the left panel, navigate in your laptop folders to find the website files/folder you’d like to upload.
- You can now drag and drop files and folders into the html folder, or the other way around. Do not delete the html folder.
Install other pracival software
install git and clone a repository:
```shell pkg update && pkg upgrade -y pkg install git git clone https://gitlab.com/mar_ver/mobile-low-energy-server.git ````